 Pin It
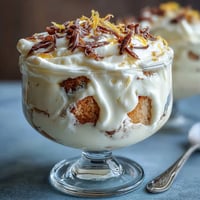
 The first time I experimented with rosé in a dessert, I was more curious than confident—wondering if the gentle fruitiness of my favorite blush wine would actually come through, or just evaporate into cake. I can still picture the pale pink batter spinning around the stand mixer, with glimmers of sunlight stretching across the countertop. The faint scent of berries and vanilla drifting through the kitchen felt like spring in the air. There's something unexplainably heartwarming about seeing people's faces light up when you reveal a cake with such a celebration-worthy twist.
I once brought this Rosé Velvet Cake to my cousin's bridal shower and was quickly roped into a crowd of curious guests grilling me about the gold paint and pretty pink hue. Watching the tiny edible pearls roll away on the frosting and the sound of laughter as we tried balancing delicate slices on fancy plates made the effort completely worth it. That sense of celebration somehow gets folded into every layer of this cake.
Ingredients
- All-purpose flour: Sift this well to guarantee a tender crumb, as I learned after my first dense attempt.
- Granulated sugar: Creaming it thoroughly with butter makes all the difference in getting that cloudlike texture.
- Baking soda & baking powder: Using both gives the cake a balanced rise, so don't skip either.
- Salt: Just half a teaspoon will sharpen every other flavor.
- Unsweetened cocoa powder: Dutch-process works beautifully, lending subtle depth without overpowering the color.
- Unsalted butter: Room temperature is essential for the smoothest batter consistency.
- Buttermilk: Don't use a substitute for this—real buttermilk provides both tang and plushness.
- Rosé wine: Any dry, fruity rosé will amplify the cake's aroma; I often use whatever's left in the fridge.
- Large eggs: Let them warm up on the counter with the butter for easier blending.
- Vanilla extract: Enhances the floral notes from the rosé and adds complexity.
- White vinegar: This tiny trick keeps the crumb especially light and velvet-soft.
- Pink food coloring gel: Start slow—one drop turns things bright fast, and you want just a blush.
- Cream cheese: For the frosting, set it out early, so it's super soft before you start whipping.
- Powdered sugar: Sift to avoid pesky lumps in your creamy topping.
- Heavy cream: Makes the gold drip luscious and easy to pour, not stiff.
- White chocolate chips: Melting these for the drip means a smooth finish, but heat them low and slow.
- Edible gold luster dust: A little goes a long way—dilute with clear extract or vodka for painting.
Tired of Takeout? 🥡
Get 10 meals you can make faster than delivery arrives. Seriously.
One email. No spam. Unsubscribe anytime.
Instructions
- Setup for success:
- Preheat your oven to 350°F (175°C), then grease and line three 8-inch cake pans with parchment, making sure the edges are neat for easy release.
- Sift and combine:
- In a separate bowl, sift together your flour, cocoa powder, baking soda, baking powder, and salt; the aroma is almost chocolatey but subtle, and you want it thoroughly blended.
- Cream the butter and sugar:
- With a mixer, beat the butter and sugar until the mixture looks pale and fluffy—don't rush this part, as it aerates your cake beautifully.
- Add eggs and flavor:
- Crack in eggs one by one, beating well and scraping the sides to ensure a silky, homogenous batter, then add vanilla.
- Mix in wet ingredients:
- Pour in buttermilk, rosé, and vinegar, and mix gently; expect the batter to look a little curdled before it all comes together smoothly.
- Color with care:
- Add pink food gel a little at a time, stirring gently until you reach a perfect blush—the color will intensify a bit as it bakes.
- Bake the cakes:
- Divide batter evenly among your prepared pans and gently tap them to release air bubbles; bake for 30–35 minutes, then test with a toothpick for doneness.
- Cool completely:
- Let cakes rest 10 minutes in their pans, flip out onto wire racks, and cool until no warmth remains.
- Make rosé cream cheese frosting:
- Cream butter and softened cream cheese until smooth, then gradually beat in powdered sugar, followed by rosé, vanilla, and salt, whipping everything until creamy and light.
- Assemble the cake:
- Level the tops if necessary; layer with frosting between cakes, then crumb-coat and chill for 30 minutes before your final, even layer.
- Gold drip magic:
- Gently melt white chocolate and cream together, cool to room temp, and drizzle artfully over the cold cake edges using a spoon or bottle.
- Brush with gold:
- Mix gold luster dust with a few drops of vodka or extract, then brush the drip carefully with a food-grade paintbrush for that shimmering finish.
- Chill and serve:
- Chill the decorated cake for at least 30 minutes to set the drip and flavors, then slice and savor your hard work.
 Pin It
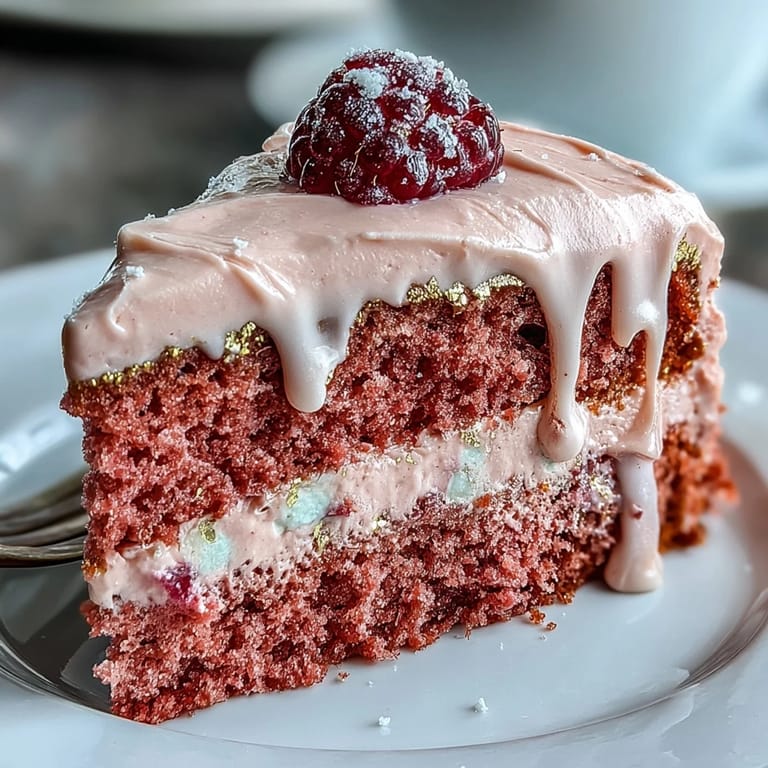
 When I finally presented this cake on a vintage glass stand and watched my friend's delighted gasp, I realized desserts have a way of stopping time—just long enough for joy to take over the room. There's magic in that very first slice revealing blush layers and a whisper of rosé in the air.
What Makes Rosé Velvet Cake Special?
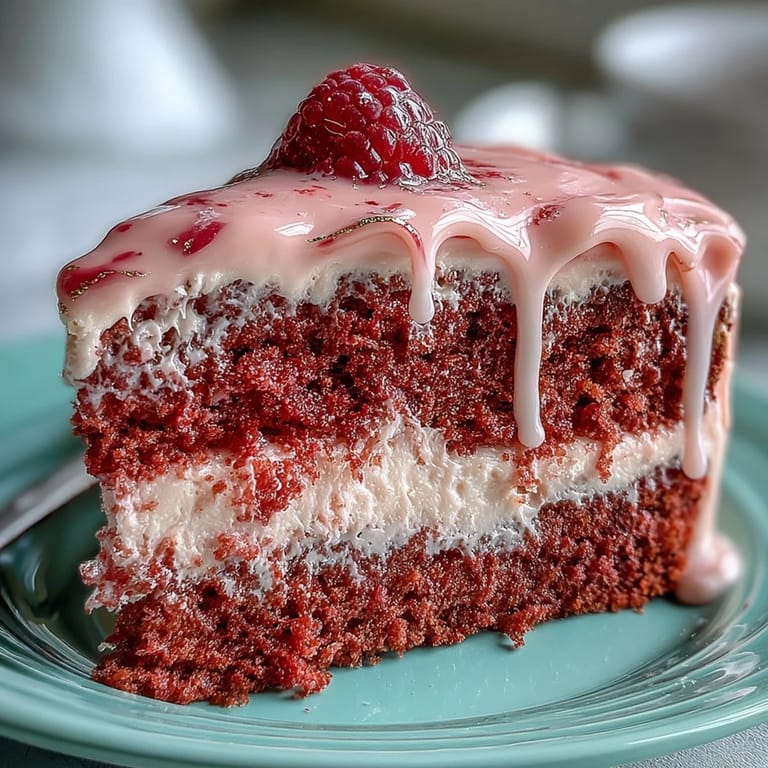
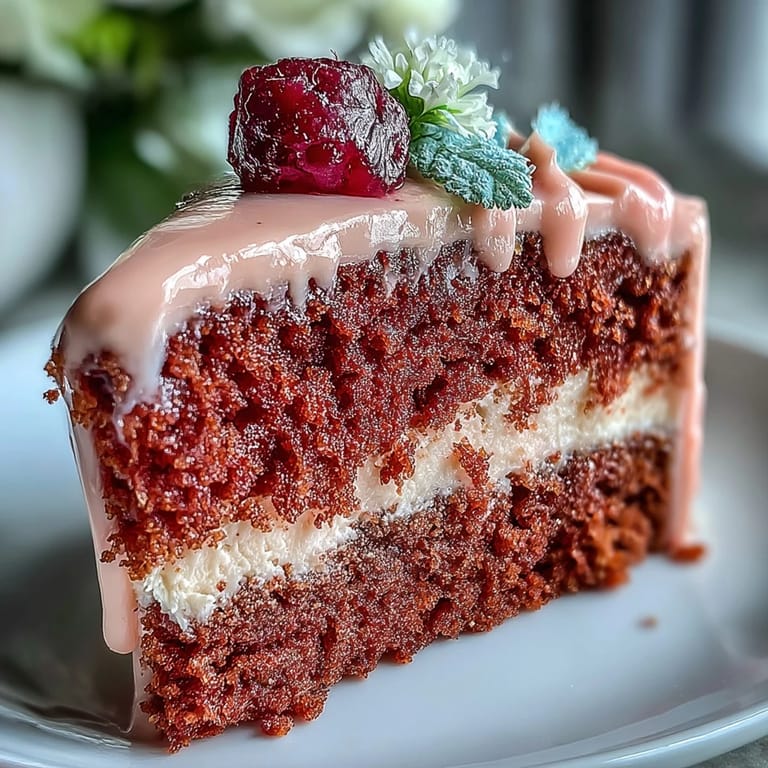
Subtle and celebratory, the rosé doesn't overpower the cake—it adds just a whisper of floral fruitiness that keeps you guessing (and nibbling for more). The color alone turns heads, but it's the swoosh of gold against creamy frosting that always draws a crowd. If you're looking to impress for a bridal shower, birthday, or any gathering where there might be toasts and laughter, this is your unforgettable centerpiece dessert.
Swaps and Finishing Touches
It turns out you don't need to stick with rosé if you're serving a younger crowd or prefer it non-alcoholic—sparkling grape juice lends a lovely flavor and hue, too. I've played with adding edible petals, gold leaf flakes, or a scatter of ripe raspberries for different moods; each time, someone asks for the 'secret ingredient.' Personalizing the decor makes the cake feel like it was designed just for that moment.
Last-Minute Advice for a Showstopper
Once, I nearly skipped a crumb coat, and instantly regretted the avalanche of crumbs—never again! Giving yourself plenty of chilling time between steps not only makes for smoother frosting, but lets flavors bloom and settle. Don’t hesitate to invite friends into the kitchen—the process is messy in the sweetest way, and laughter always tastes best.
- Decorate only after the cake has completely cooled.
- Store leftovers chilled, tightly covered, for best texture.
- Use a hot knife for perfectly clean cake slices every time.
 Pin It
 I hope you have as much fun sharing and slicing into this cake as I did discovering all its little secrets. Here's to blushing cakes, golden moments, and celebrations that taste as joyful as they look.
Recipe FAQs
- → How do I get a smooth, stable gold drip?
Warm white chocolate with cream in short bursts until glossy, cool to room temperature so it thickens slightly, then apply slowly with a spoon or squeeze bottle. Chill briefly to set, then paint the chilled drip with gold luster mixed with vodka or clear extract for a clean metallic finish.
- → Can this be made without alcohol?
Yes. Substitute rosé with sparkling grape juice in the batter and frosting. Brush layers with reserved grape juice for added moisture and flavor while keeping the same celebratory profile.
- → How do I keep the cream-cheese frosting from softening?
Work with well-chilled butter and cream cheese, whip until smooth but not warm, apply a thin crumb coat and chill the cake for at least 30 minutes before the final coat. Keep the finished cake refrigerated until serving in warm conditions.
- → What’s the best way to achieve an even blush-pink color?
Use concentrated gel food coloring and add it a little at a time, folding gently to avoid overmixing. Test color on a small spoonful of batter and remember it will mellow slightly during baking and frosting.
- → How should I transport a layered cake safely?
Chill the cake until firm, place it on a non-slip mat inside a snug cake box, and carry on a flat surface in the vehicle. Keep it cool and avoid sudden stops or sharp turns to preserve the drip and decorations.
- → Can I bake this in different pan sizes?
Yes. Adjust bake time for deeper or shallower pans and check doneness with a toothpick. If using fewer pans, level layers after cooling to maintain even stacking and consistent layer thickness.