 Pin It
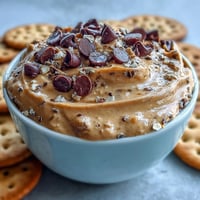
 I discovered these protein cheesecake cups on a Tuesday afternoon when I was standing in my kitchen wondering how to make something that tasted indulgent but didn't derail my fitness goals. The answer was staring me in the face: creamy, tangy, easy to portion into cups that could live in my fridge for the week ahead. No baking required, just mixing, pressing, and waiting, which honestly felt like the most manageable dessert project I'd tackled in months.
I remember bringing these to a friend's house for movie night, and she nearly cried when I told her they had protein powder in them. She thought I'd made some elaborate dessert from scratch, when really I'd just combined a few bowls and let time do the work. Watching her reach for a second one before the opening credits finished rolling made me realize these weren't just healthy snacks anymore, they were the thing people actually wanted.
Ingredients
- Oat flour: This is your base's best friend, giving structure and a subtle nutty undertone that pairs perfectly with the creamy filling above it.
- Almond butter or peanut butter: The fat here binds everything together and adds richness that makes the crust feel substantial, not like you're eating cardboard disguised as dessert.
- Honey or maple syrup: A little sweetness in the base prevents it from tasting austere, and the liquid helps everything stick.
- Salt: Just a pinch to wake up all the flavors and prevent the filling from tasting one-dimensional.
- Cream cheese: Reduced-fat works beautifully here and keeps you from overshooting your fat macros while staying creamy and rich.
- Greek yogurt: This is the secret ingredient that adds protein without making the texture grainy or weird, plus it keeps things tangy and bright.
- Vanilla whey protein powder: Two scoops blend seamlessly into the filling and add the protein punch that makes this feel like an actual snack, not just dessert.
- Vanilla extract and lemon zest: These are optional but worth it, adding depth and preventing the filling from tasting too one-note.
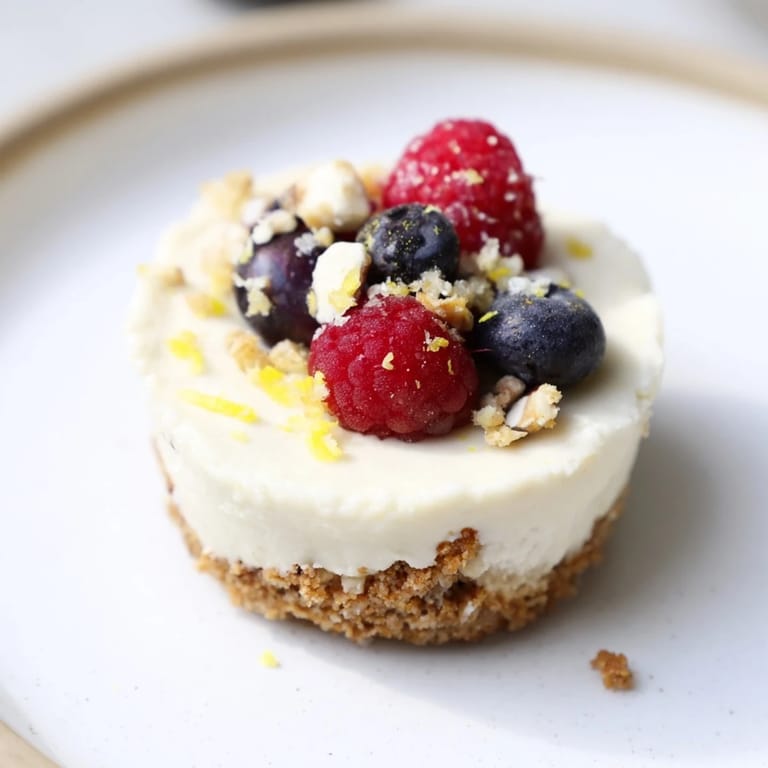
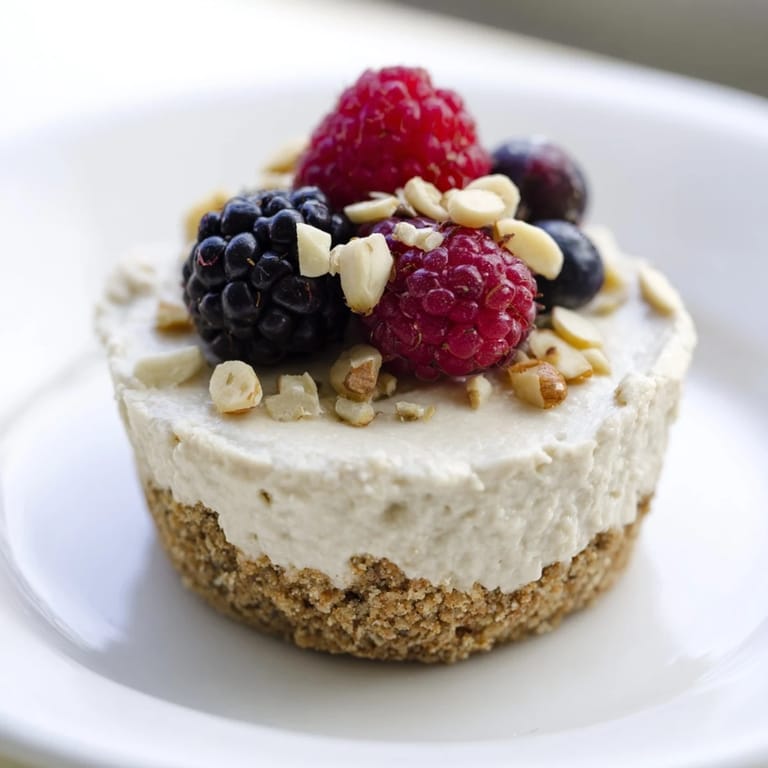
- Toppings: Fresh berries, chopped nuts, or dark chocolate shavings turn each cup into something that looks like you actually care, which matters.
Tired of Takeout? 🥡
Get 10 meals you can make faster than delivery arrives. Seriously.
One email. No spam. Unsubscribe anytime.
Instructions
- Make the base:
- Combine oat flour, almond butter, honey, and salt in a bowl, stirring until the mixture looks like damp sand with small clumps. This should feel sturdy enough to press down but still have some texture to it.
- Press it down:
- Distribute the mixture evenly among six muffin liners in your tin and press down firmly with your fingers or the back of a spoon until the base feels compact and level. Don't be shy here; you want it to hold together when you bite through.
- Prepare the filling:
- Beat the softened cream cheese until it's smooth and there are no lumps, then add the Greek yogurt, protein powder, honey, vanilla extract, and lemon zest if using. Mix until everything is combined and creamy, with no streaks of dry powder visible.
- Layer on the filling:
- Spoon the cheesecake mixture evenly over each base, then smooth the tops with a spatula so they look intentional. This step takes one minute but makes them look so much more polished.
- Add your toppings:
- Scatter fresh berries, chopped nuts, or chocolate shavings on top while the filling is still soft enough for them to stick slightly. This isn't just for looks; it's your signal that these are finished and ready to set.
- Chill and set:
- Refrigerate for at least two hours until the filling is completely firm and the base has absorbed enough moisture to hold together. You can leave them overnight if you forget about them, and honestly, they taste even better the next day.
 Pin It
 The first time I ate one of these cold, straight from the fridge on a random Wednesday morning before the gym, I had this small moment of clarity that maybe I didn't have to choose between wanting something delicious and wanting to take care of myself. It sounds dramatic over a cheesecake cup, but that's honestly what happened.
Make Them Your Own
These cups are a blank canvas waiting for whatever flavor story you want to tell. Swap the vanilla for almond extract, add cocoa powder to the filling, press crushed berries into the base, or drizzle a thin layer of dark chocolate over the top before chilling. I've made versions with espresso powder stirred into the filling and versions with ground cinnamon mixed into the base, and every single one has been worth the minimal effort it took to create something different.
Storage and Make-Ahead Magic
These live contentedly in your fridge for up to five days in an airtight container, which means you can make them on Sunday and have a grab-and-go breakfast or snack waiting for you all week long. I've also frozen them successfully for up to a month; let them thaw in the fridge for an hour or so before eating, and they taste almost identical to fresh. The base gets slightly softer and the filling gets slightly less dense, but in the best way possible.
Variations and Adaptations
For a vegan version, swap the cream cheese for dairy-free cream cheese and the Greek yogurt for a thick coconut yogurt or cashew cream, then use vegan protein powder and maple syrup instead of honey. If gluten-free is your goal, crush up some gluten-free cookies or graham crackers and use those for the base instead of oat flour. You can even make a peanut butter cup version by spreading a thin layer of natural peanut butter over each base before adding the filling.
- Chocolate lovers should try adding two tablespoons of cocoa powder and reducing the honey by half in the filling.
- For a berry cheesecake vibe, fold fresh raspberries directly into the filling before spooning it onto the bases.
- Salted caramel becomes possible if you drizzle a tiny bit of caramel sauce over the top before chilling, though it does add sweetness.
 Pin It
 These little cups proved to me that healthy eating doesn't mean sacrificing the creamy, indulgent desserts that make life better. They're proof that taking care of yourself and taking care of your taste buds aren't mutually exclusive.
Recipe FAQs
- → Can I make these cheesecake cups gluten-free?
Yes, swapping oat flour for almond flour and ensuring gluten-free baking ingredients will keep them safe for gluten-free diets.
- → How long should I chill the cups before serving?
Refrigerate for at least 2 hours to allow the filling to firm up and develop flavors.
- → What are some topping suggestions for these cups?
Fresh berries, chopped nuts, or dark chocolate shavings complement the creamy texture and add delightful flavor.
- → Is it possible to make a vegan version?
Use dairy-free cream cheese, plant-based yogurt, and vegan protein powder to create a vegan-friendly treat.
- → How do I adjust sweetness in the cheesecake filling?
Honey or maple syrup amounts can be modified to suit personal taste for ideal natural sweetness.
- → What tools are needed for preparation?
A mixing bowl, hand mixer or whisk, muffin tin with liners, and spatula are all you need to prepare this dessert.