 Pin It
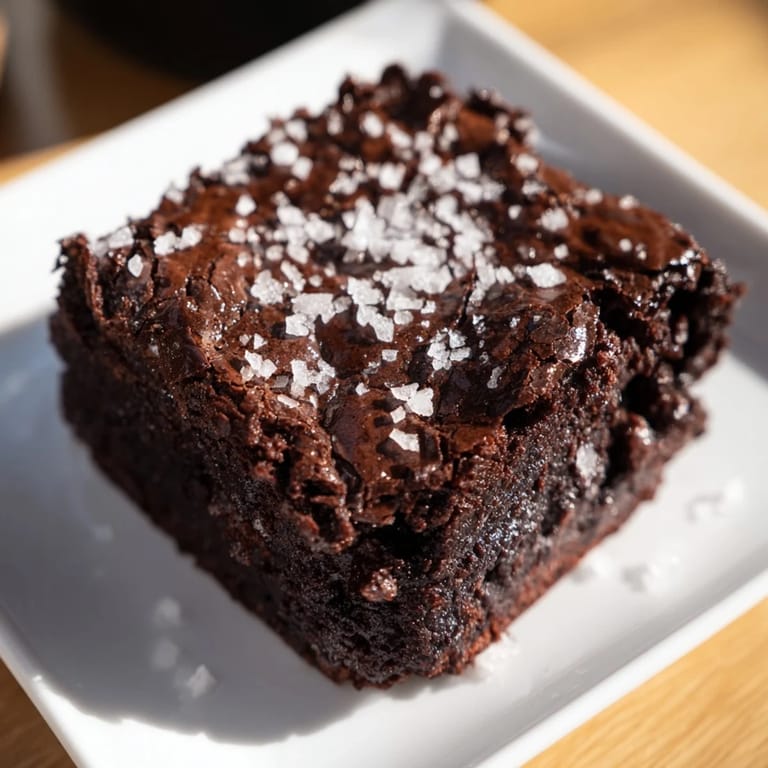
 I was craving something rich one rainy afternoon and realized I had a bar of good dark chocolate sitting in the pantry. No box mix, no plan, just the kind of restless energy that makes you want to melt butter and crack eggs. The kitchen smelled like cocoa and sugar within minutes, and I knew I was onto something when the batter clung to the spatula like silk. Those brownies came out crackling on top, fudgy in the middle, and I've been making them ever since.
I brought a pan of these to a dinner party once, still warm, and watched three people go completely silent after the first bite. One friend asked if I'd trained in pastry, which made me laugh because I'd only started baking seriously a year before. The truth is, good chocolate and a little salt can make anyone look like they know what they're doing.
Ingredients
- High-quality dark chocolate (70% cocoa): This is the soul of the brownie, so don't skimp here. I've tried cheaper bars and the difference is real, the better the chocolate, the deeper and more complex the flavor.
- Unsalted butter: It melts into the chocolate and gives the brownies that melt-in-your-mouth texture. I always use unsalted so I can control the salt myself.
- Granulated sugar and light brown sugar: The white sugar sweetens, the brown sugar adds a hint of molasses and chewiness. Together they create the crackly top I love.
- Eggs: Let them come to room temperature so they blend smoothly and don't seize up the warm chocolate. I learned this the hard way when cold eggs turned my batter grainy once.
- Pure vanilla extract: Just a teaspoon, but it rounds out the chocolate and makes everything taste more like itself.
- All-purpose flour: Not too much, just enough to give structure without turning these into cake. Measure carefully or weigh it if you can.
- Unsweetened cocoa powder: I sift this with the flour to avoid lumps and to deepen the chocolate flavor even more.
- Fine sea salt: Goes into the batter to balance sweetness and bring out the cocoa.
- Flaky sea salt: The finishing touch. It sparkles on top and bursts on your tongue, transforming each bite from sweet to sublime.
Tired of Takeout? 🥡
Get 10 meals you can make faster than delivery arrives. Seriously.
One email. No spam. Unsubscribe anytime.
Instructions
- Prep Your Pan:
- Preheat the oven to 180°C (350°F) and line your square pan with parchment, letting the edges hang over like little handles. You'll thank yourself later when you lift the whole block out in one piece.
- Melt the Chocolate and Butter:
- Set a heatproof bowl over simmering water and add the chopped chocolate and butter, stirring gently until everything melts into a glossy pool. Let it cool for a few minutes so it doesn't scramble the eggs.
- Whisk the Sugar and Eggs:
- In a large bowl, whisk together both sugars, the eggs, and vanilla until the mixture turns pale and thick, about 2 to 3 minutes. Your arm might get tired, but this is what builds that shiny top.
- Combine Wet and Chocolate:
- Pour the melted chocolate into the egg mixture and whisk until it's completely smooth and glossy. The batter will look almost too pretty to bake.
- Fold in the Dry Ingredients:
- Sift the flour, cocoa powder, and fine salt over the wet mixture, then fold everything together with a spatula just until you don't see any streaks. Overmixing turns brownies cakey, and we want fudge.
- Pour and Season:
- Scrape the batter into your prepared pan, smooth the top, and sprinkle the flaky sea salt evenly across the surface. It should look like tiny crystals catching the light.
- Bake Until Just Set:
- Slide the pan into the oven and bake for 28 to 32 minutes. A toothpick in the center should come out with a few moist crumbs clinging to it, not wet batter, not completely clean.
- Cool Completely:
- Let the brownies cool in the pan on a wire rack. I know it's hard to wait, but cutting them warm turns them into a gooey mess instead of clean, fudgy squares.
 Pin It
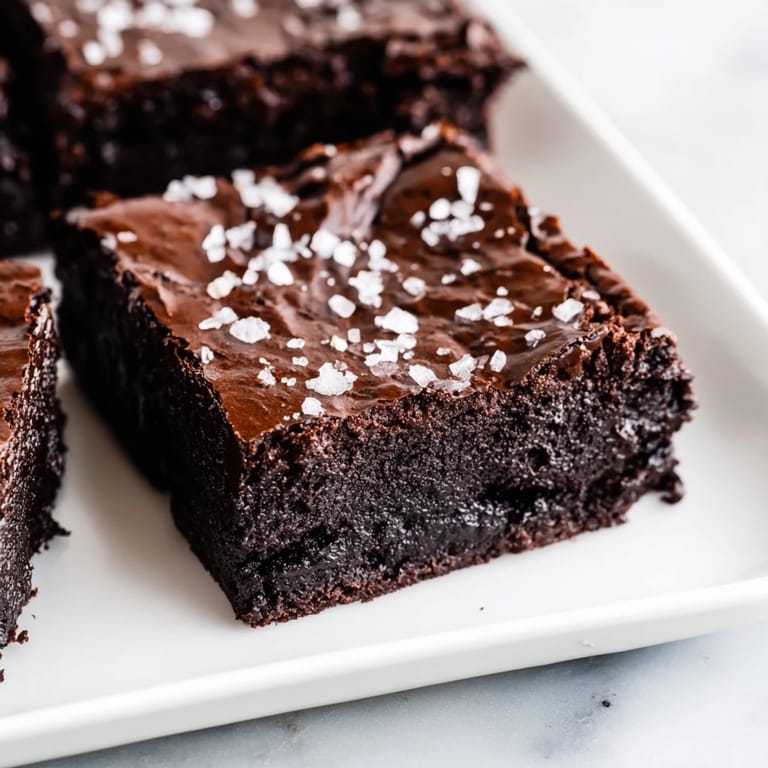
 I remember cutting into the first batch and realizing I'd finally nailed the texture I'd been chasing for months. My partner took one bite, closed his eyes, and said it tasted like the brownies his grandmother used to make, which is maybe the best compliment I've ever gotten in the kitchen. These aren't just dessert, they're the kind of thing that makes people remember you.
How to Store and Reheat
I keep these in an airtight container at room temperature for up to four days, though they rarely last that long. If you want to reheat a square, pop it in the microwave for about ten seconds and it'll taste like it just came out of the oven. You can also freeze them individually wrapped in plastic, then thaw at room temperature whenever a craving hits.
Customizing Your Brownies
Sometimes I fold in a handful of dark chocolate chips or toasted walnuts before baking, which adds little pockets of texture and richness. If you want to make these gluten-free, swap in a good quality gluten-free flour blend and no one will know the difference. I've also drizzled cooled brownies with melted peanut butter or topped them with a scoop of vanilla ice cream for a dessert that feels almost indecent.
Serving Suggestions and Pairings
These brownies are perfect on their own, but they're also incredible warm with a scoop of cold vanilla ice cream melting into the edges. I've served them with fresh raspberries on the side to cut the richness, or with a strong cup of coffee that echoes the dark chocolate. If you're feeling fancy, a drizzle of salted caramel or a dusting of powdered sugar makes them look bakery-level.
- Serve with vanilla ice cream and let it melt into the warm brownie.
- Pair with fresh berries like raspberries or strawberries for a bright contrast.
- Enjoy with a bold espresso or a glass of cold milk.
 Pin It
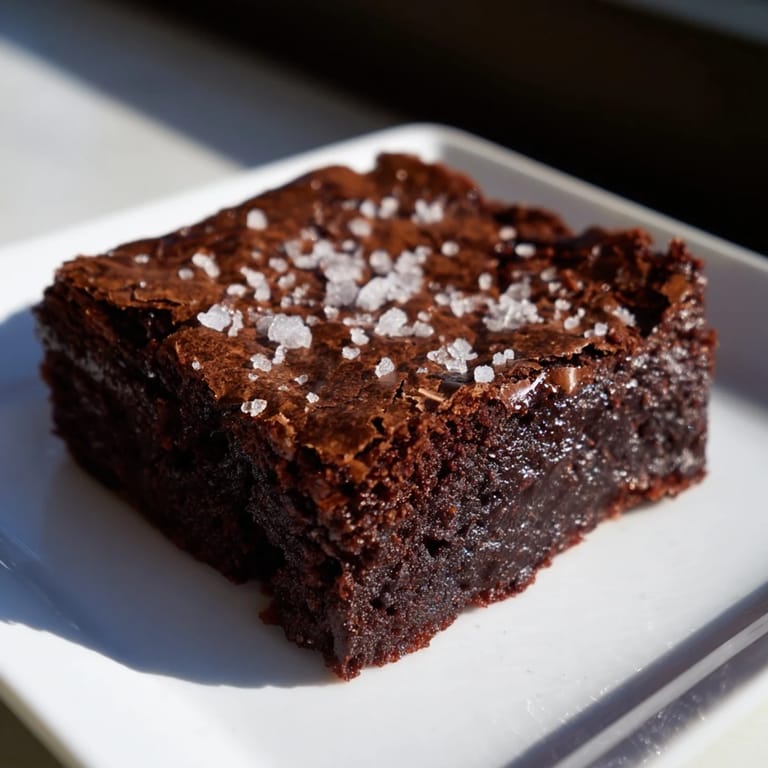
 Every time I pull these out of the oven and smell that deep, bittersweet chocolate mingling with salt, I'm reminded why I fell in love with baking in the first place. I hope they become a favorite in your kitchen too.
Recipe FAQs
- → What chocolate is best for these brownies?
Use high-quality dark chocolate with about 70% cocoa content for deep flavor and fudgy texture.
- → Why add flaky sea salt on top?
Flaky sea salt enhances the rich chocolate by adding a subtle savory contrast and a delicate crunch.
- → Can I make these gluten-free?
Yes, substitute all-purpose flour with a gluten-free flour blend for similar results.
- → How do I check if brownies are baked properly?
Insert a toothpick in the center; it should come out with a few moist crumbs but not wet batter.
- → What additions work well in this batter?
Mix in dark chocolate chips or chopped walnuts before baking for extra texture and flavor.
- → Should these brownies be cooled before slicing?
Yes, allow them to cool completely to set properly and make cutting easier without crumbling.